
On this page
What Tools & Equip does
Tools & Equip keeps one list of every tool, machine and piece of equipment your company owns: where it is, who has it, its status and every move. The office uses the website at app.toolsandequip.com. The tool room and the field can also use the iPhone and iPad app to scan labels and move things.
Everyone signs in with their work email and a 6-digit code. There are no passwords. Every plan has unlimited users, so the whole crew can be on it.
Sign up a company
Who can do this Anyone with a work email. The person who creates the company becomes its first admin.
- Go to app.toolsandequip.com/signup, type your work email and press Email me a code.
- Type the 6-digit code from the email and press Sign in.
- Fill in Create your company: the Company name, the Web address (filled in from the name; your labels point at it, so pick one you like), Your name and your Time zone.
- Press Create the company. You land on the Admin page with a welcome note.
The web address can't be changed later: it is printed into every QR label. Use 2 to 41 letters, numbers and dashes. A company is free for up to 50 active tools.
Already have an invite? You don't need to sign up. Just sign in with the email the invite went to.
Roles in a nutshell
Each person who signs in has a role. A role is a set of rights. There are four built-in roles, and your admin can change them or make new ones (see Roles and rights).
| Role | Meant for | Can do by default |
|---|---|---|
| Admin | The owner or office admin | Everything: members, places, categories, adding and removing tools, billing. |
| Crib | Tool-room and shop staff | Move and edit tools, photos, labels, kits, service, work orders, audits, bookings, requests, rentals, stock, jobs and people. |
| PM | Project managers | Look up the whole fleet, book tools, raise requests and rentals, see their own jobs and the tool cost, comment. |
| Field | Foremen and crews | Look tools up, raise requests, comment. |
Invite your people
Who can do this Admin (the Members right).
- Open Admin → Members.
- Type their email under Invite by email, pick a Role (it starts at Field) and press Invite.
- They get an email telling them how to sign in. The invite lasts 30 days. Resend invite renews it.
Already imported your people? On Admin → People you can tick everyone who needs to sign in and press Give app access to N people in one go. See Invite many people at once.
First steps checklist
Do these in order. Each one makes the next easier.
- Categories (for example 45 Pumps, 60 Welders). Tool numbers usually start with the category code. How.
- Locations: your yard, tool crib, shop, trailers and repair vendors.
- People: everyone who can hold a tool, even if they never sign in.
- Jobs, with their PM.
- Tools: add them one at a time, or bring in your spreadsheet with Import. The import can add missing categories and locations for you.
- Invite the team (above).
- Print labels and stick them on. Then anyone can scan a tool with a phone camera. See Labels.
- Optional: add your logo and colors, set service intervals on categories, and choose your notifications.
Find your way around
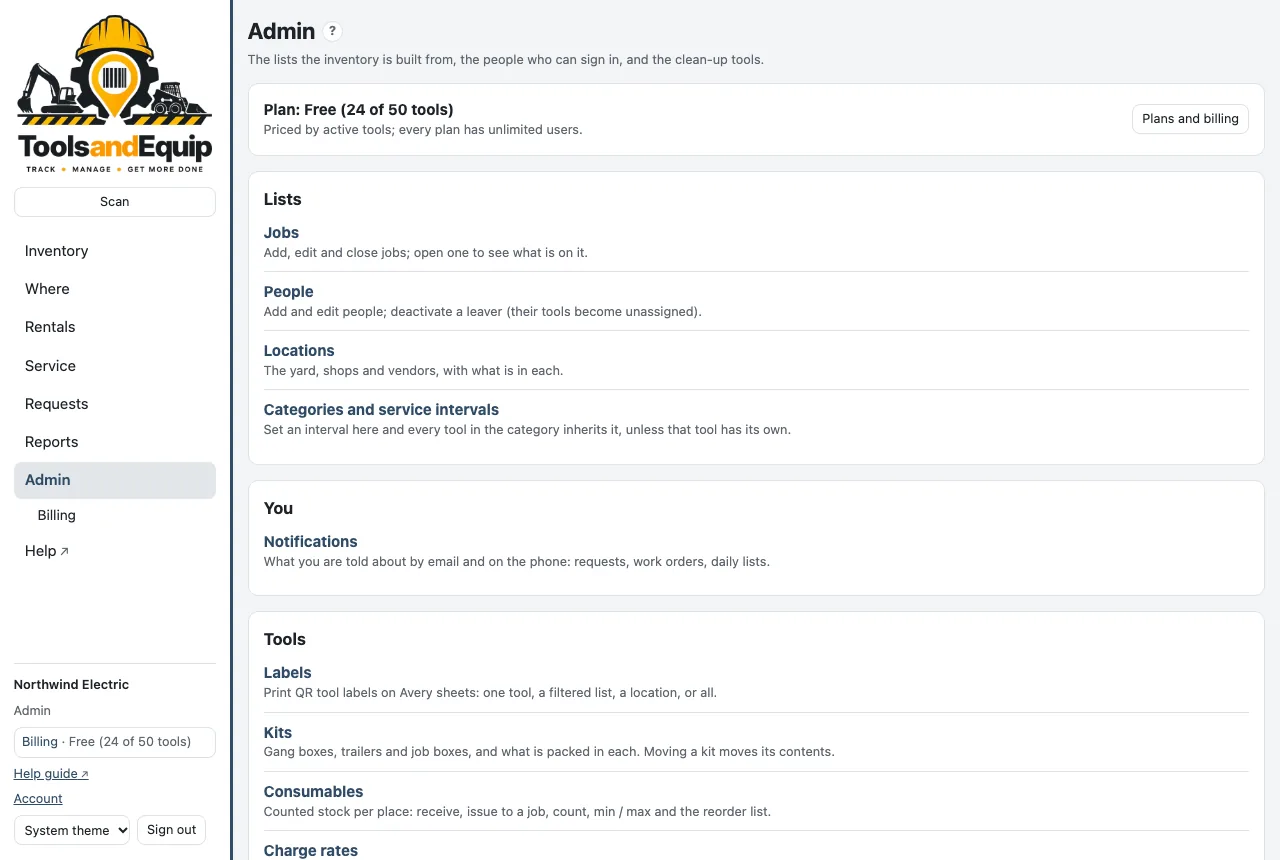
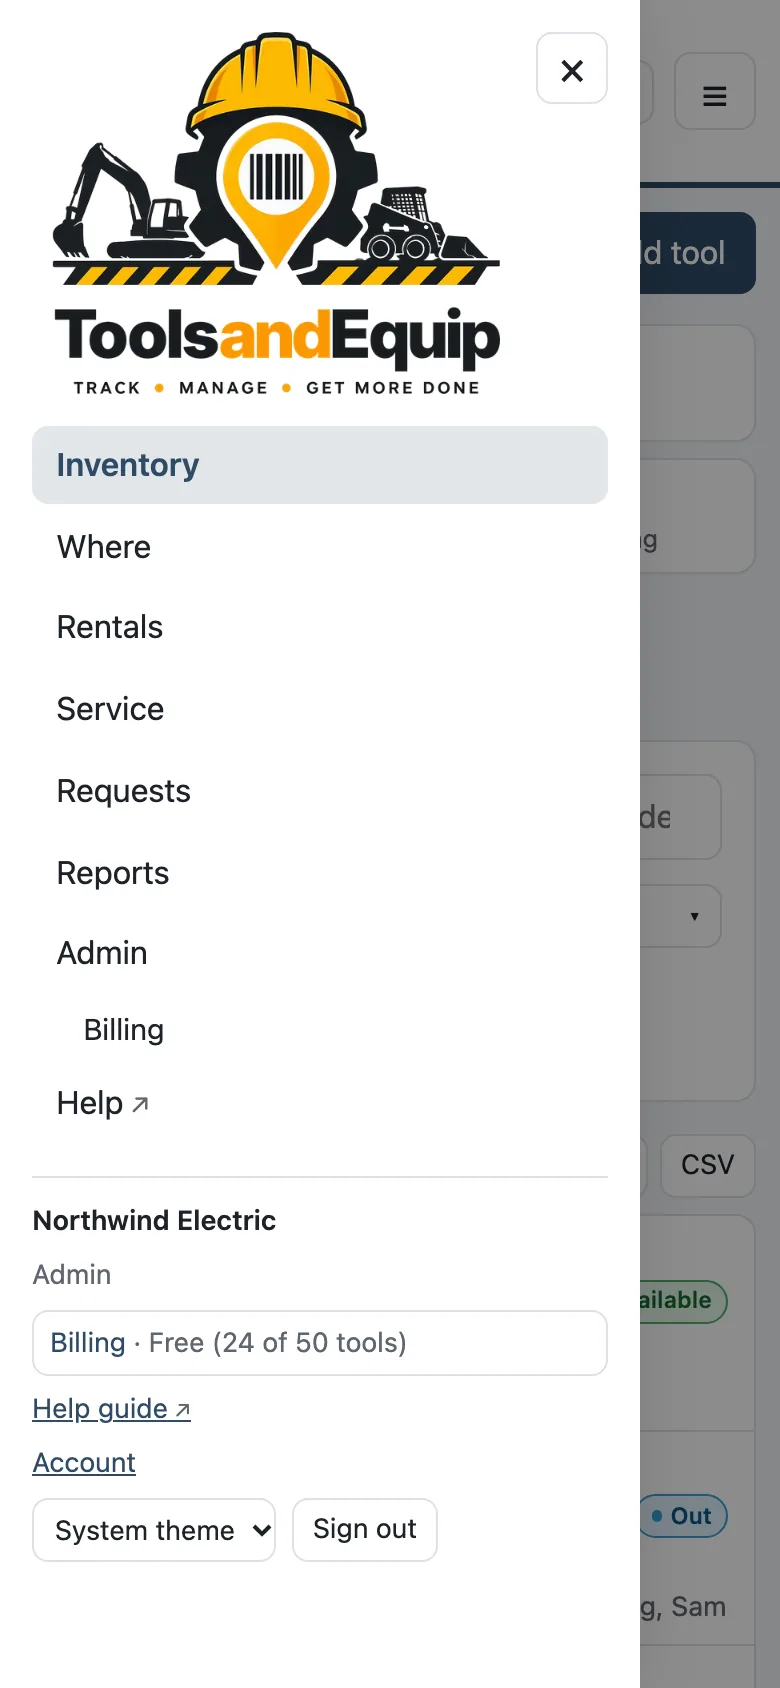
The menu runs down the left side on a computer. On a phone, tap ☰ at the top. It holds Inventory, Where, Rentals, Service, Requests, Reports and Admin. If your role only looks things up, the last item reads Lists. At the bottom of the menu are your company, your role, Help, Account, the light or dark theme and Sign out.
The Scan button at the top uses the camera on phones, tablets and laptops that have one. A small ? next to a page title opens the help for that page.